Homepage → Seed Saving Information → Saving Tomato Seeds
Saving Tomato Seeds
Planted October 1, 2024
Last tended to on October 13, 2024
Reading time: 7 minutes

by Mike Dunton
The following step-by-step guide to saving tomato seeds is the exact process that I have used to produce high quality seeds professionally for decades. I have found that the fermentation method results in the cleanest seeds, with the highest germination rates biologically possible. In presenting this guide, it is assumed that you are saving seed from tomatoes that are healthy, ripe, non-hybrids, open-pollinated, true-to-type, and have not been cross-pollinated.
Production:
Although tomatoes (Solanum lycopersicum) are adaptable and can be raised nearly everywhere, its perfect growing conditions are a dry season with daytime temperatures ranging between 70°F to 80°F, and nighttime temperatures between 60°F and 70°F. When temperatures exceed 90°F to 95°F, tomato pollen is sterilized, thereby preventing pollination, the blossoms drop, and fruit set will not occur.
In order to reduce the possibility of issues with disease, observe crop rotation and do not plant in areas where the previous year’s crop was any Solanaceous species (tomato, pepper, eggplant, potato, tobacco, etc.). Removal and proper disposal of plant debris at the end of the gardening season is also beneficial.
Many diseases are exacerbated by high humidity levels. Training the plants off of the ground using baskets or poles helps to improve airflow through the plants and can reduce disease pressure. This also can help to promote earlier ripening, higher yields, and improve seed quality.
Selection:
Referencing the documentation for the varieties that you planted, compare your plants and fruit to the written descriptions and photographs. If you observe any off-type plants, remove them as soon as possible in order to prevent contamination of your crop. This includes diseased or sickly plants, as well as ones that don’t match the variety’s documentation.
Isolation:
Tomato plants produce perfect, mostly self-pollinating flowers. This means that each flower contains both male and female structures and requires no insects to produce fruit. This does not mean that you should not take precautions.
Solitary bees are attracted to, and will pollinate flowers, if other more desirable pollen sources are not available. Most home gardeners will do fine if they separate different varieties by about 20 feet, with another tall, wind breaking crop, like corn, in between. Bagging flower clusters with fine mesh is another option for maintaining purity.
Harvesting:
Harvest your tomatoes for eating or processing for food at whatever stage in their development as you prefer. However, for seed production, only select and harvest fully ripened, fully mature, unblemished fruit.
Seed Extraction & Processing:
Slice each tomato fruit in half at its equator. Squeeze out the juice and jelly-like sacks that surround the seeds into a small container labeled with the date and variety name; add a small amount water if you are only saving seed from one or two small tomatoes. We use repurposed dairy product containers, for example, sour cream and cottage cheese containers. Cover the container and place in a warm location (around 70°F to 85°F), out of direct sunlight, for 2 to 3 days. Stirring daily, keep an eye on the progress as they ferment. You do not want them to start sprouting! Keep reading for a step-by-step illustrated procedure.
A bit about tomato seed biology … Tomatoes have developed a mechanism so that their seeds over-winter and wait until the following spring to germinate. For obvious reasons, this increases the odds that their genetics will survive and thrive; the primary purpose for all sexual reproduction. They accomplish this by surrounding each seed in a gelatinous substance that contains compounds that inhibit germination. When a fruit drops from a plant in nature, it will rot and as it decomposes, the gelatin capsule and its germination inhibiting compound disappears.
When we are saving tomato seeds, we are replacing the natural over-winter / rotting process with controlled fermentation. Within a day or so, beneficial fungi appear at the top of the container. It breaks down the seed’s gel sacks so that we can store and germinate the seeds when we want. Additionally, the fermentation process produces antibiotics that work to eliminate seedborne pathogens. After the fermentation process is complete, it is time to wash, separate, and screen the seeds.
Tomato Seed Production Using the Fermentation Method
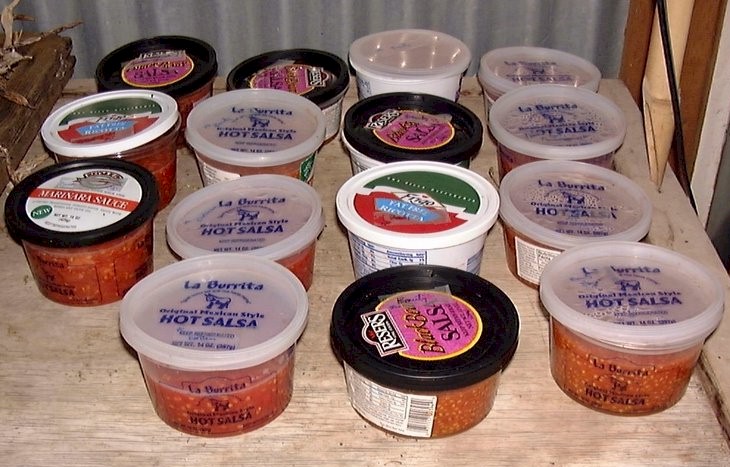
This first photograph shows a very common late summer / early fall scene here on the farm - containers of fermenting tomato seeds.
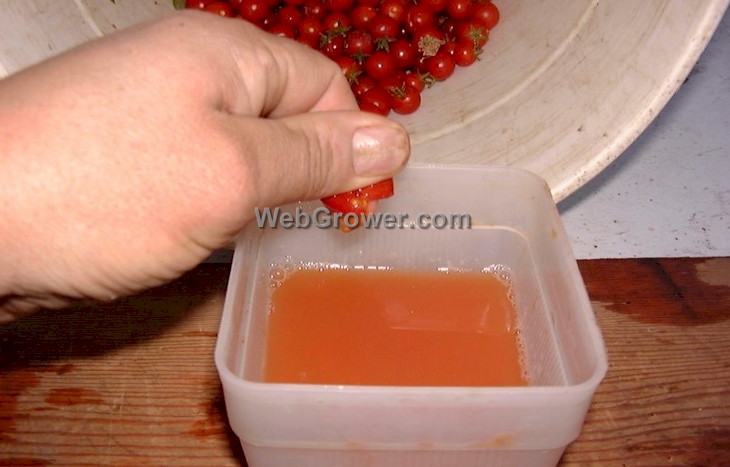
Most larger fruits are cut in half at their equator and squeezed into labeled, washed and sterilized plastic containers. As seen in the above photo, small fruit can be simply squeezed. However, we have learn from experience that making a small cut in the fruit will allow for better control of the squirting direction.
The containers of seeds and juice are then placed in a warm location (80°F is good) and out of the direct sunlight with the lids loosely in place. The idea is to promote fermentation. I stir these batches a couple of times during the fermentation process as I have found that perfectly good seeds can get caught up on top of the mold scum, dry out, and become throwaways. Also, if the lids are left on tight, you might end up with a mess when they explode!
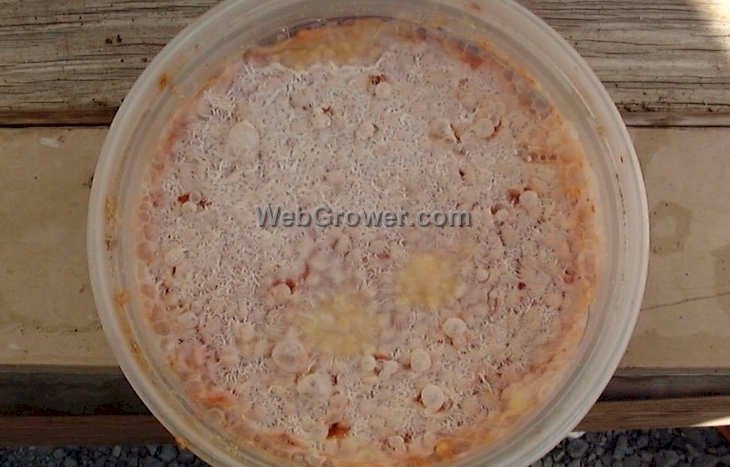
After two to three days of fermentation, this photo is representative of what you will see in your containers. Be attentive, check on them often, and DO NOT leave the seeds in this liquid too long or they will begin to germinate. The seeds can also darken if left in this process too long.
The fermentation process breaks down the gelatinous material that encases the seed. These jelly sacks contain a germination inhibitor so once it is gone, there is nothing holding the seeds back from germinating. This is why you need to get them from the fermentation to the drying process as quickly as possible. Fermentation is also said to be helpful in eliminating seed borne diseases.
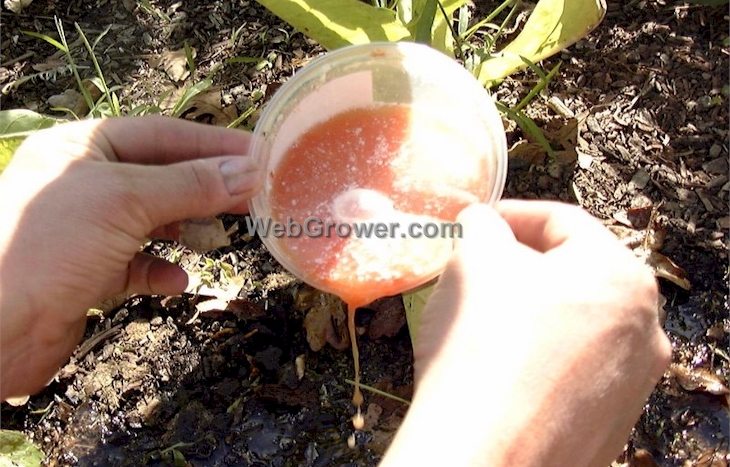
Once fermentation is complete and the seeds are no longer surrounded by the gelatinous matter, find an out of the way location in the garden and start the cleaning process by pouring off the top scum (the big chunks). Some people find the ripe, fermented tomato smell to be offensive. To me it smells a lot like home brewing or winemaking.
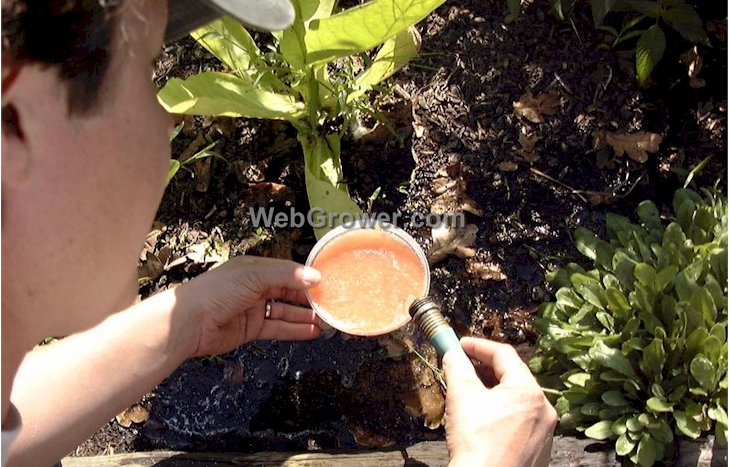
Add water.
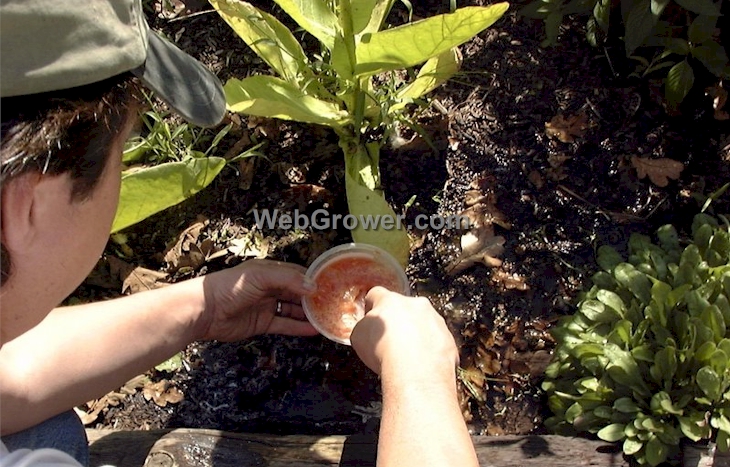
Stir up the concoction.
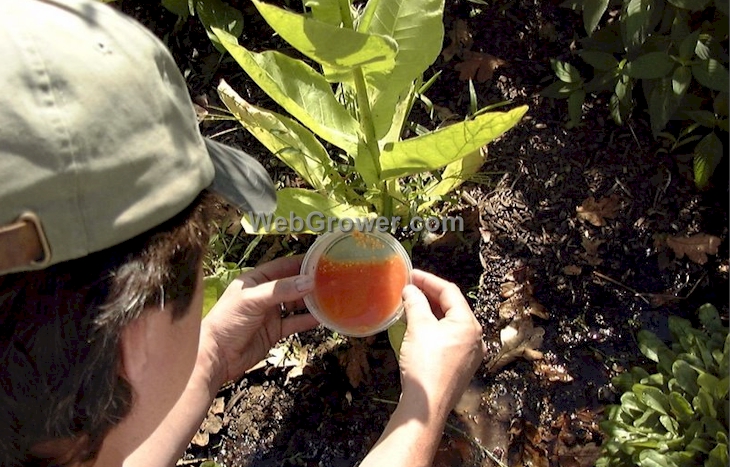
Carefully pour off the material floating on the surface. This will include bad seed, tomato juice and other bits of the tomato tissue.
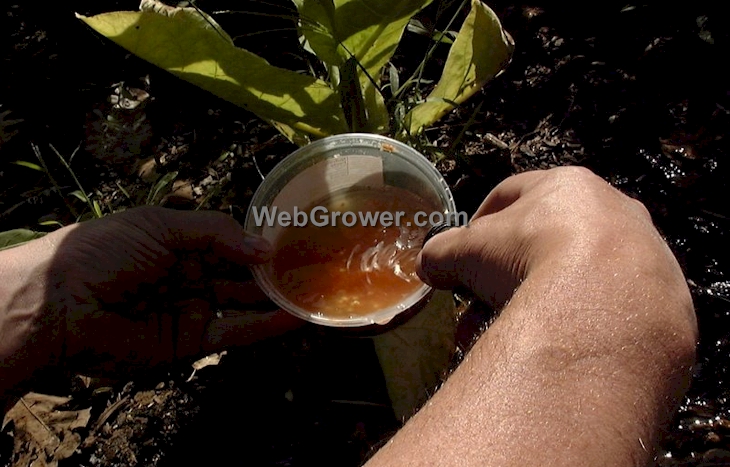
Add more water and continue the rinse process. Some people simply pour this mixture through a strainer and wash. I find that I eliminate a lot more undeveloped or bad seeds by this rinse and pour method.
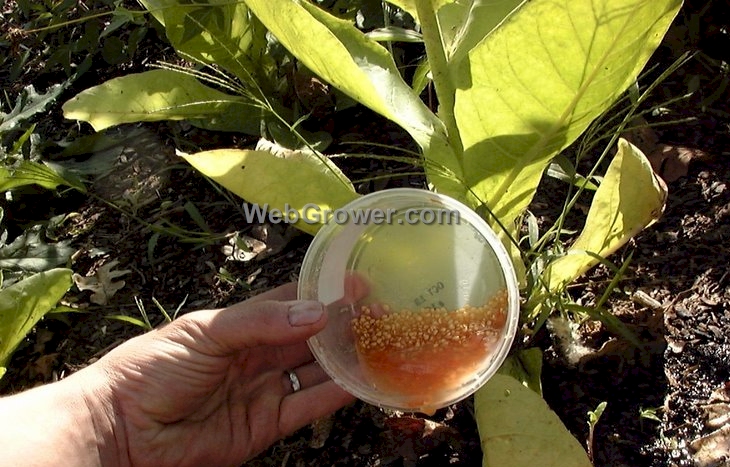
Continue the process. It is similar to panning for gold. The nice, healthy, heavy seeds (gold) remain in the bottom of the container while the other material washes away with the liquid.
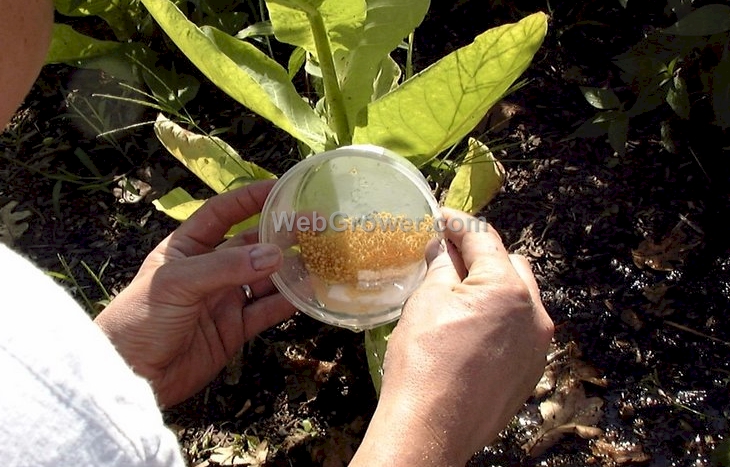
After a few wash - rinse - pour cycles, you end up with a batch of beautiful seeds.
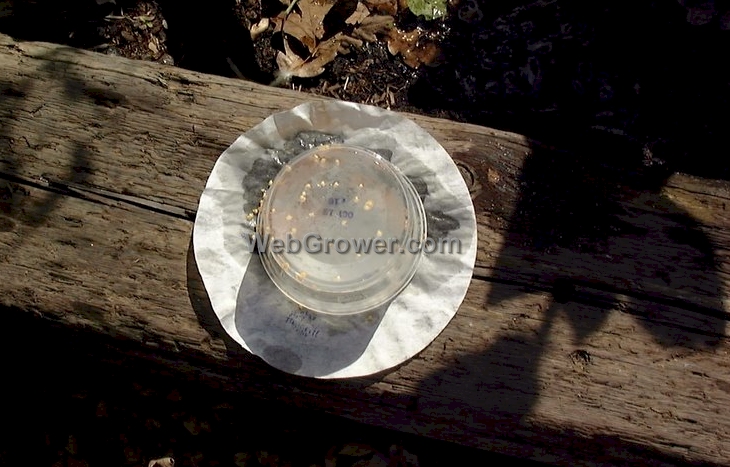
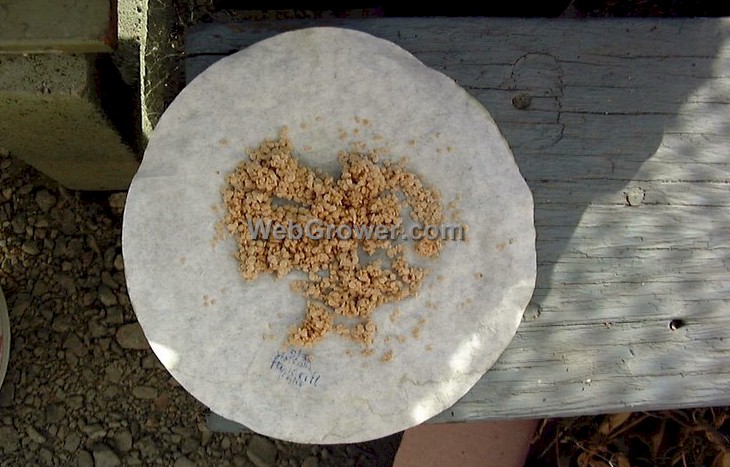
This step is the first in the drying process. The container is quickly inverted onto your drying medium. If you have small mesh drying screens, use them. If you are processing a lot of different varieties and in fairly small quantities (one ounce or less), cheap coffee filters work great. Do not use paper towels. The seeds will stick and you will regret it. Also, do not use metal or plastic. You want something that will wick the moisture away from the seeds and promote drying.
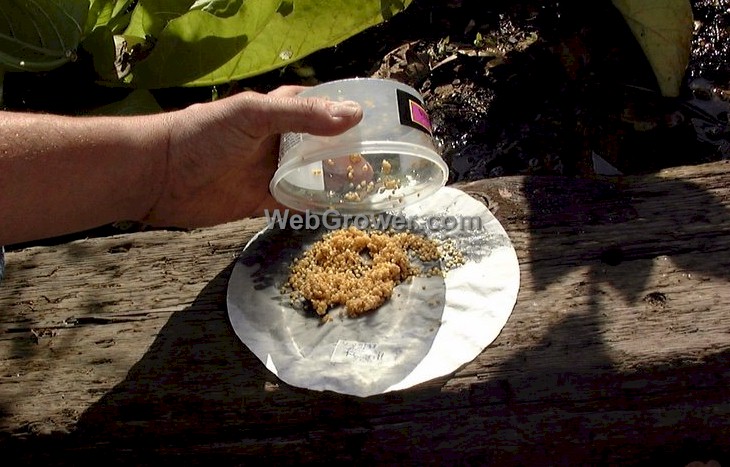
This is what it looks like after picking up the container. Make sure the filter is labeled with the variety and date. You might think you will remember what they are, but it is a big waste when you don’t.
Move your seeds to a location with good airflow, out of direct sunlight. A fan may be necessary if you have high humidity. The top of the refrigerator in the kitchen is often a good place. Never dry in an oven. You need to get your seed dried quickly or they may begin to sprout. Complete drying can take up to a week.
Storage:
Once your seeds have adequately dried, they should be stored in a consistently cool, consistently dry, consistently dark location. Properly dried and stored, you should experience seed germination rates of 50% for up to ten years. Four to seven years are typical. We store dried seed in airtight glass jars in a cool, dry location, such as the back of a spare fridge. Small desiccant packets can also be used in the jars to lower the moisture and thereby help to increase seed life. Refer to our article on seed storage for more information.
Mike Dunton is an "heirloom seed pioneer" who founded, and is the former owner of, the Victory Seed Company. As a seed professional, biodiversity preservationist, horticultural historian, technologist, farmer, gardener, homesteader, writer, and educator, he has worked for decades to share the knowledge and experience that he has gained over a lifetime of trial and error. He strives to pass down his passion for incorporating "old-timey skills" into our everyday, modern lives.
Copyright © 1998 - 2024 - All rights reserved
WebGrower.com℠ is a service mark of Victory Horticultural Group, LLC.
• Privacy Statement •
This site participates in the Amazon Services LLC Associates Program, an affiliate advertising program designed to provide a means for sites to earn advertising fees by advertising and linking to amazon.com.
